From a U.S. Reference Sample to a Near-Final Formula: An OEM Log-Home Chinking Case Study
A U.S. customer sent a specialized textured acrylic log-home chinking sample to China. This case follows our OEM development from an imperfect first trial to a near-final texture and performance match awaiting final color adjustment and testing.
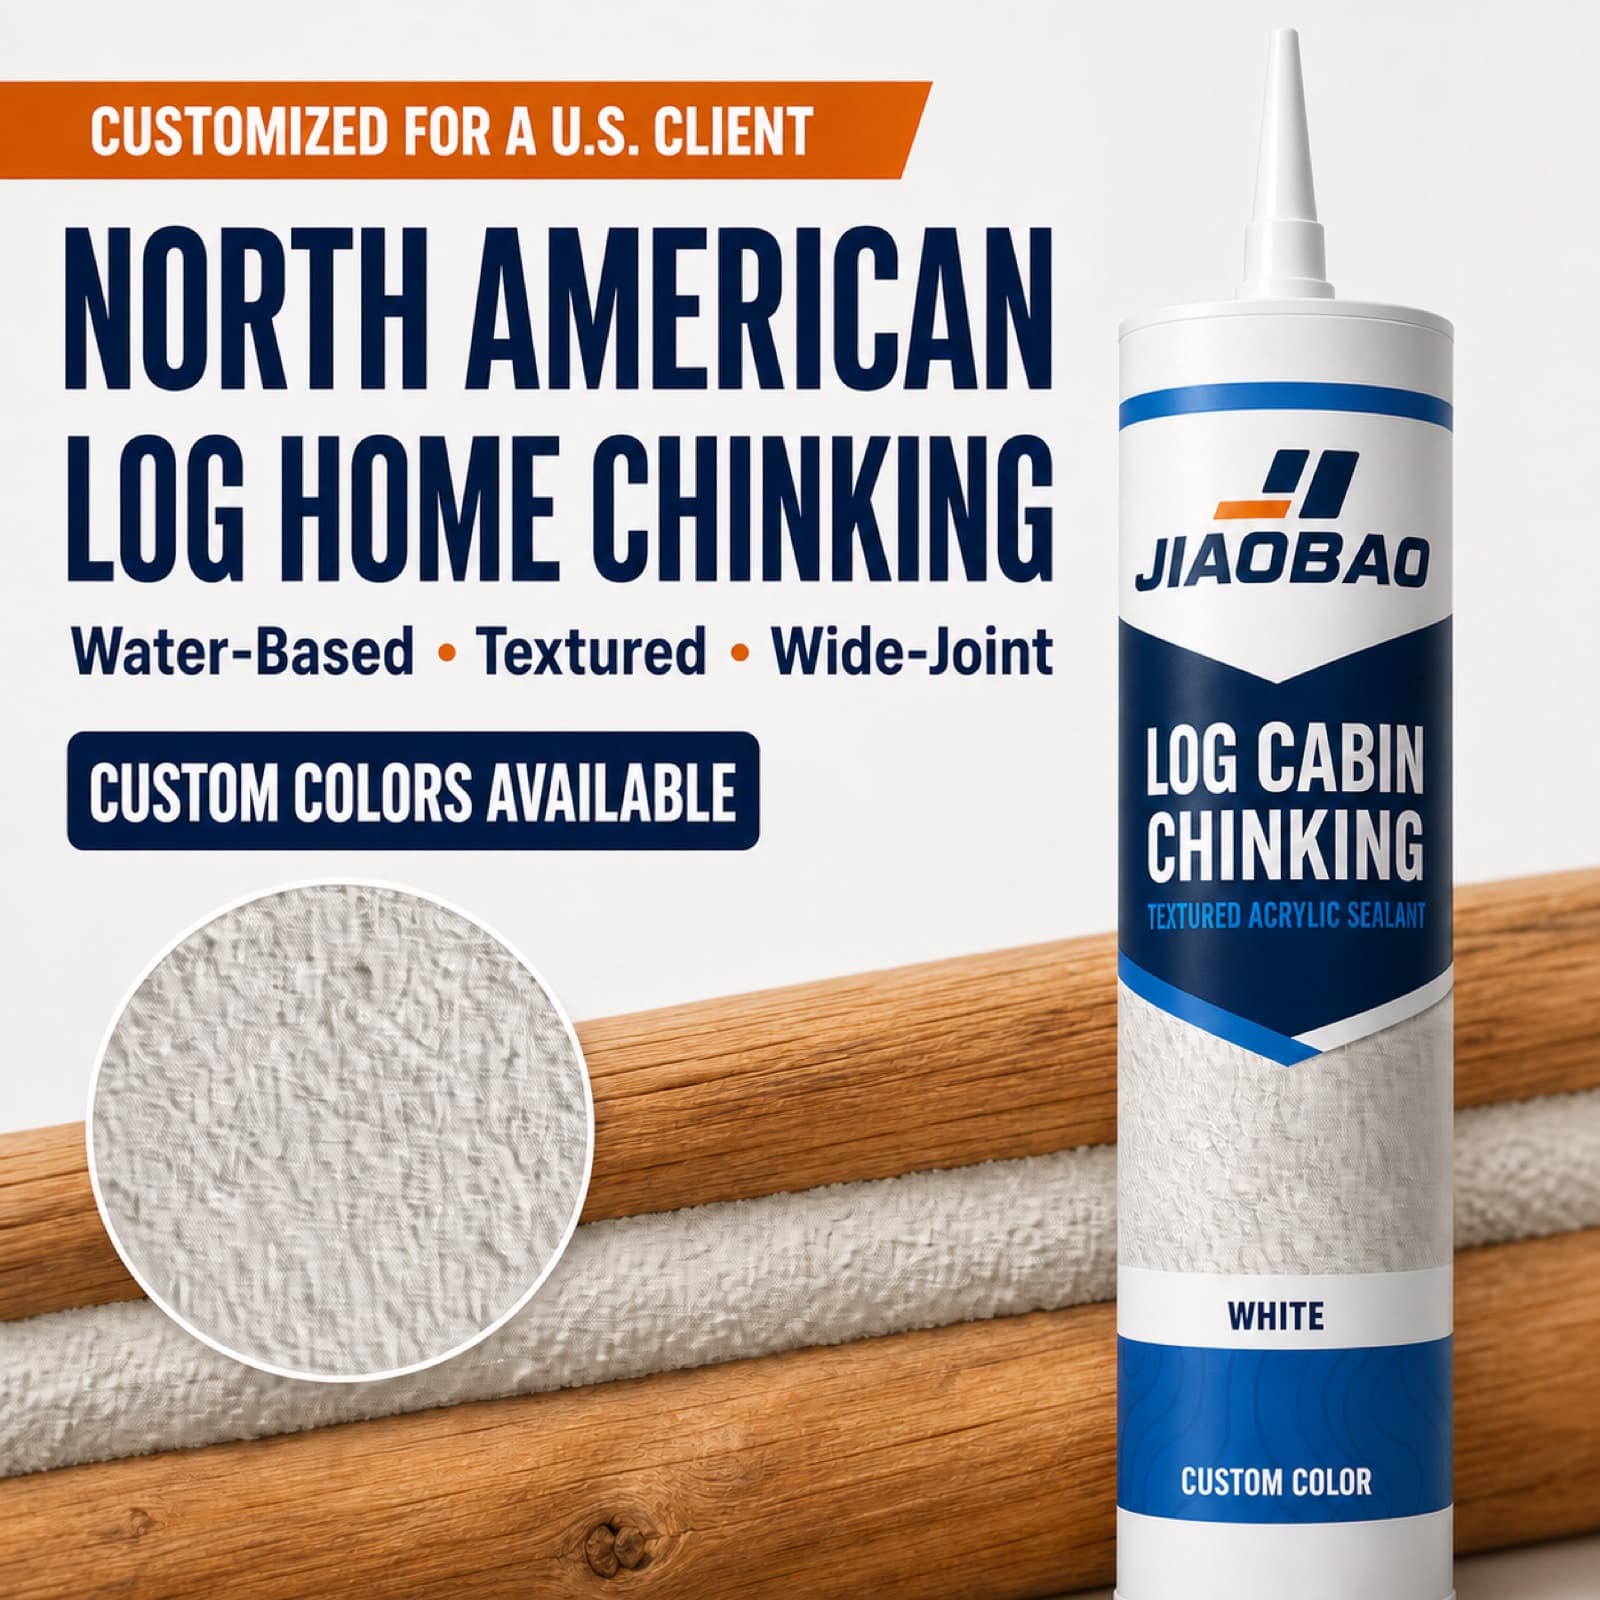
When a U.S. customer first contacted us, he asked a straightforward question: Can you develop a custom formulation?
He was not looking for a standard water-based acrylic sealant. The target was a textured, elastic chinking compound for wide joints in North American log homes. The customer already had a benchmark product, performance targets, and a clear visual standard, and needed a Chinese factory that could take the project from sample benchmarking through validation and OEM production.
This case study follows the real development path from the first conversation and international sample shipment to an imperfect first trial and a second version that came close to the final target.
To protect the customer's commercial information, we do not publish ingredient names, proportions, processing parameters, or unreleased technical targets. Customer identity, logistics details, and brand information have also been concealed in the images.
Step 1: Define what actually needs to be reproduced
The project began with a WhatsApp inquiry. The customer explained that he had a water-based acrylic log-home chinking product and wanted a formulation developed around that target.
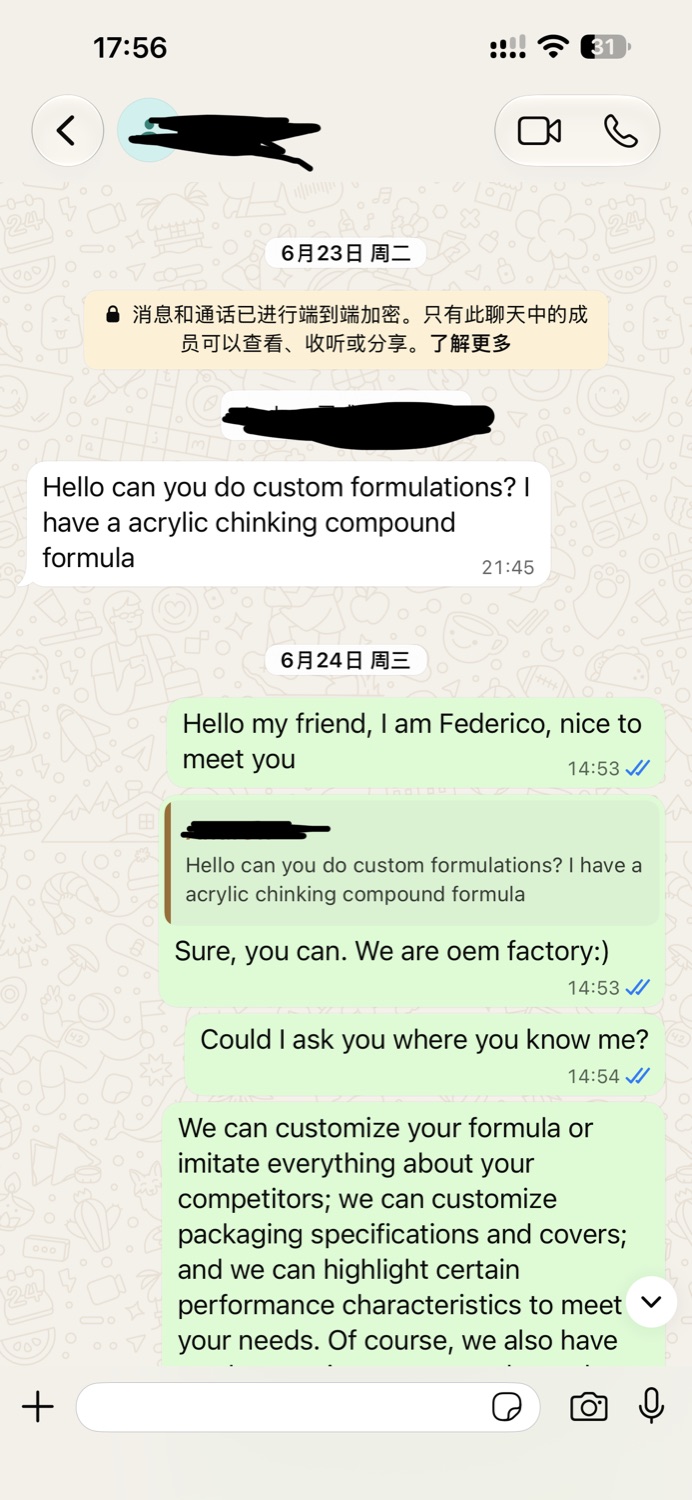
This product category is uncommon in China. In North America, log-home chinking fills wide joints between logs. It needs to protect the joint while maintaining a coarse, matte appearance reminiscent of traditional mortar. Once cured, it must also accommodate seasonal movement in the wood.
That meant the project was not simply about identifying a water-based acrylic chemistry. We needed to understand four connected targets:
- cured elasticity and movement capability;
- sag resistance, extrusion behavior, and tooling across a wide joint;
- particle feel, matte appearance, and coarse surface texture;
- color matching and consistency from sample to production.
Step 2: Receive the physical sample and technical targets
Photos and a data sheet cannot fully communicate touch, particle distribution, extrusion resistance, or the cured surface. The customer therefore sent a physical sample, color references, and technical information to our factory by FedEx.
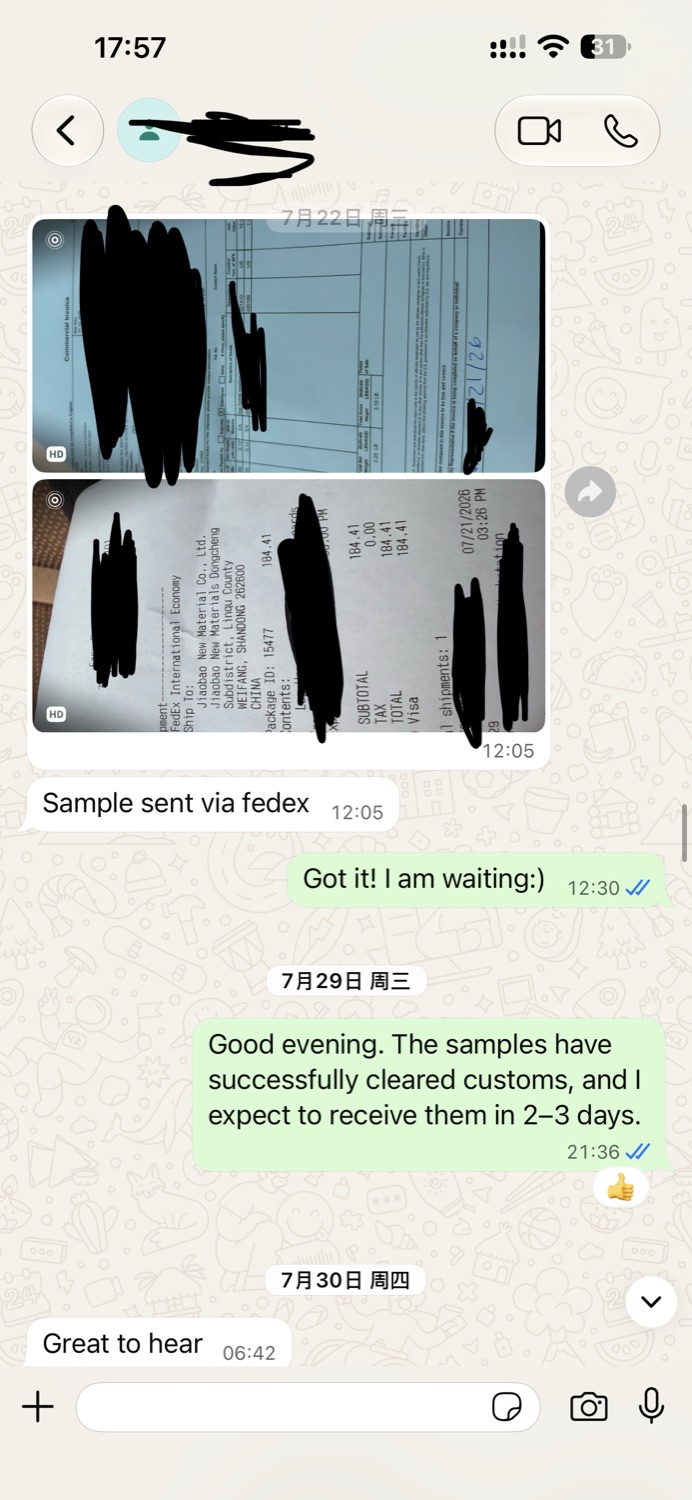
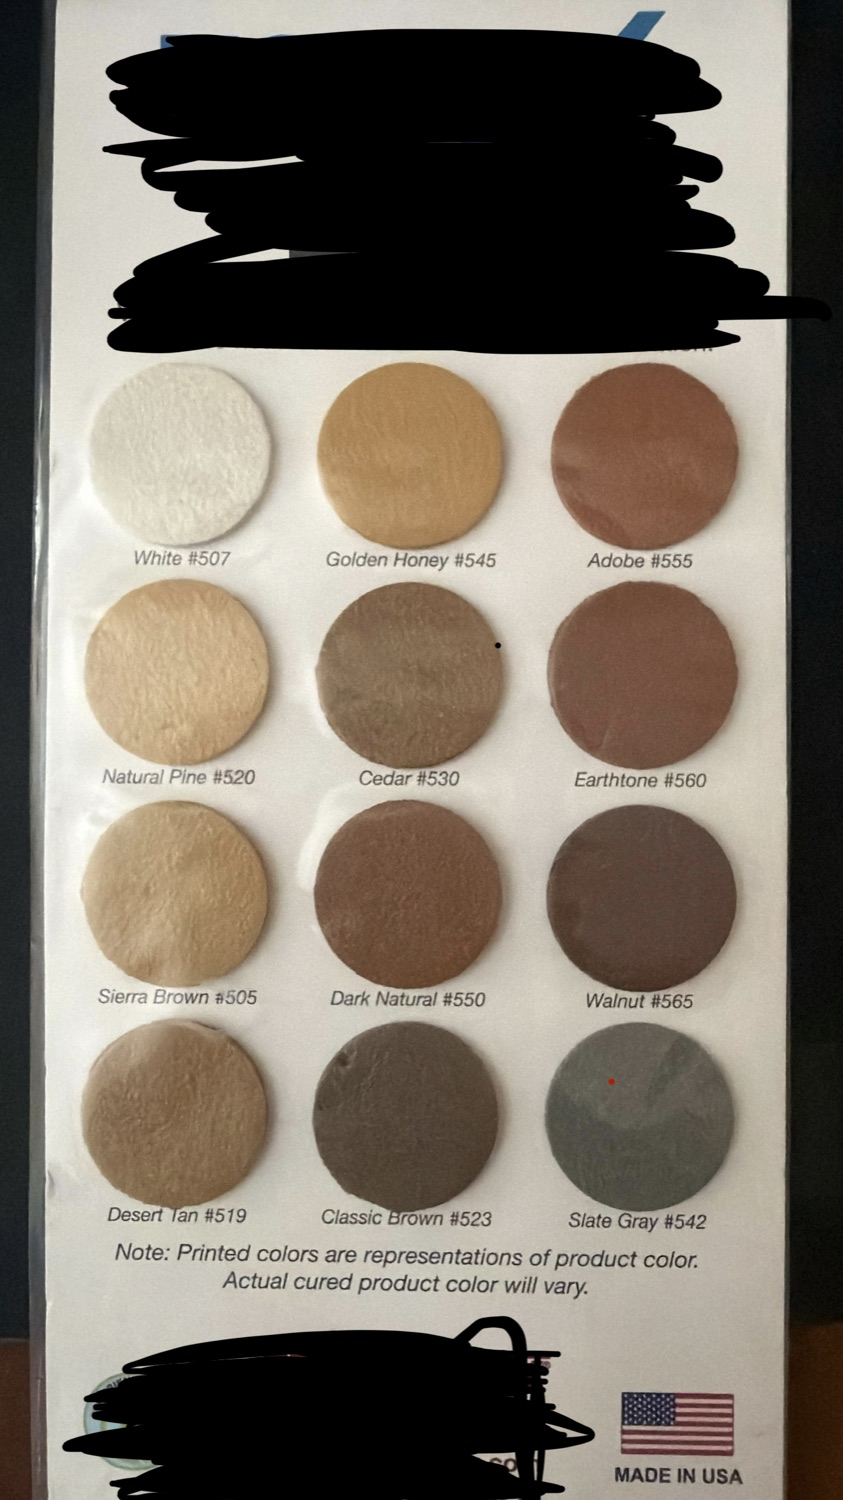
After receiving the sample, we did not treat a formula sheet as a finished manufacturing answer. We first mapped the written targets to the physical behavior of the benchmark. In formulation development, knowing what materials are present is different from understanding how the finished product applies, cures, moves, and looks.
Step 3: The first trial was functional, but visually only about halfway there
Once the first trial was ready, we extruded, tooled, and cured the benchmark and factory samples in the same way before placing them side by side.
The result was not yet good enough. The basic performance and color direction showed no major issue, but the particles were too fine. The cured surface lacked the pronounced mortar-like texture and visual weight of the customer's product. Our assessment at that stage was that the visual match was only around 50%.
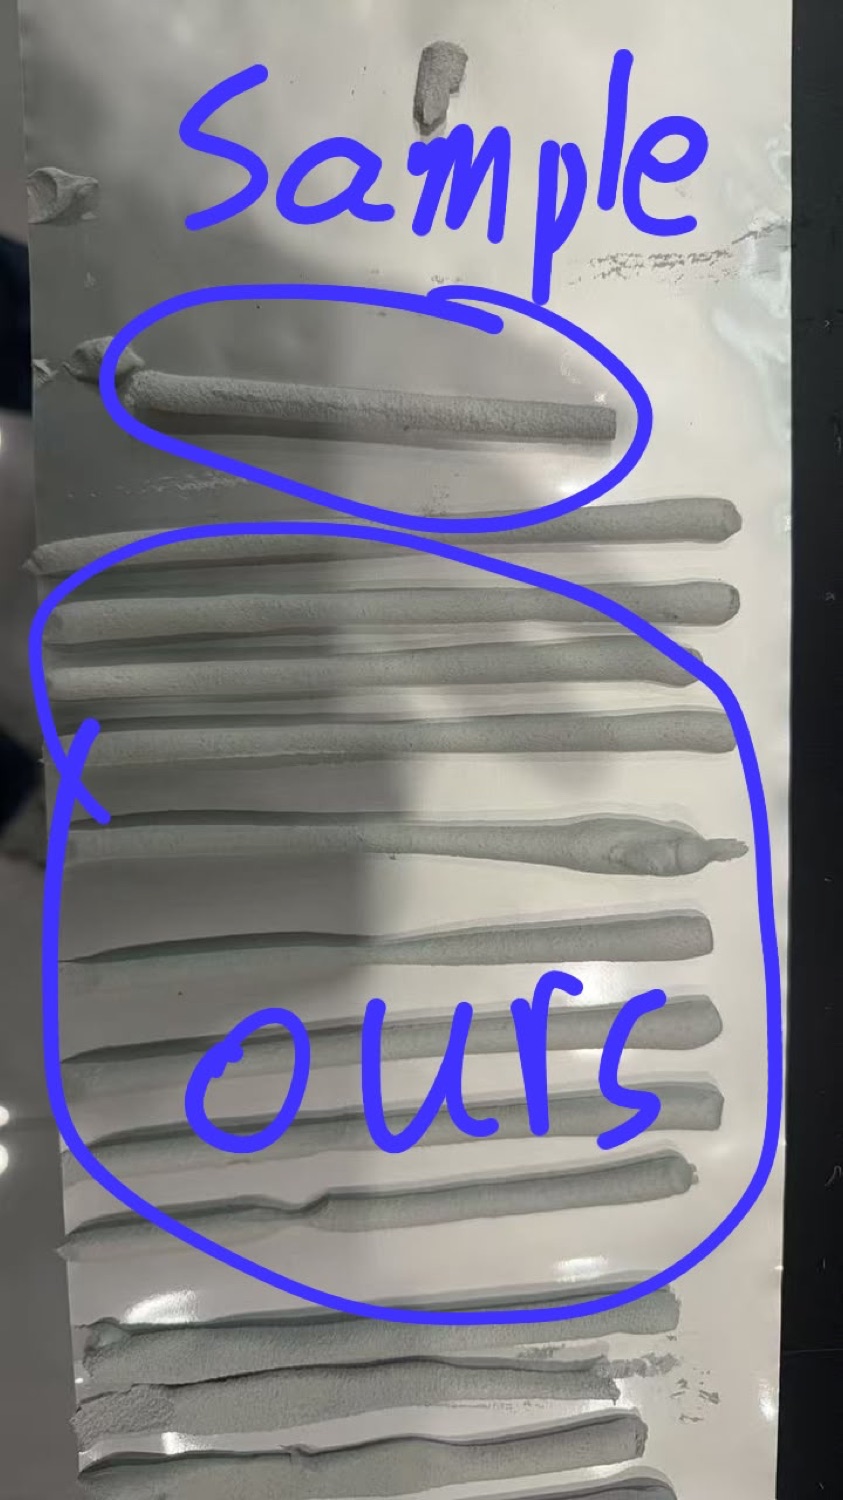
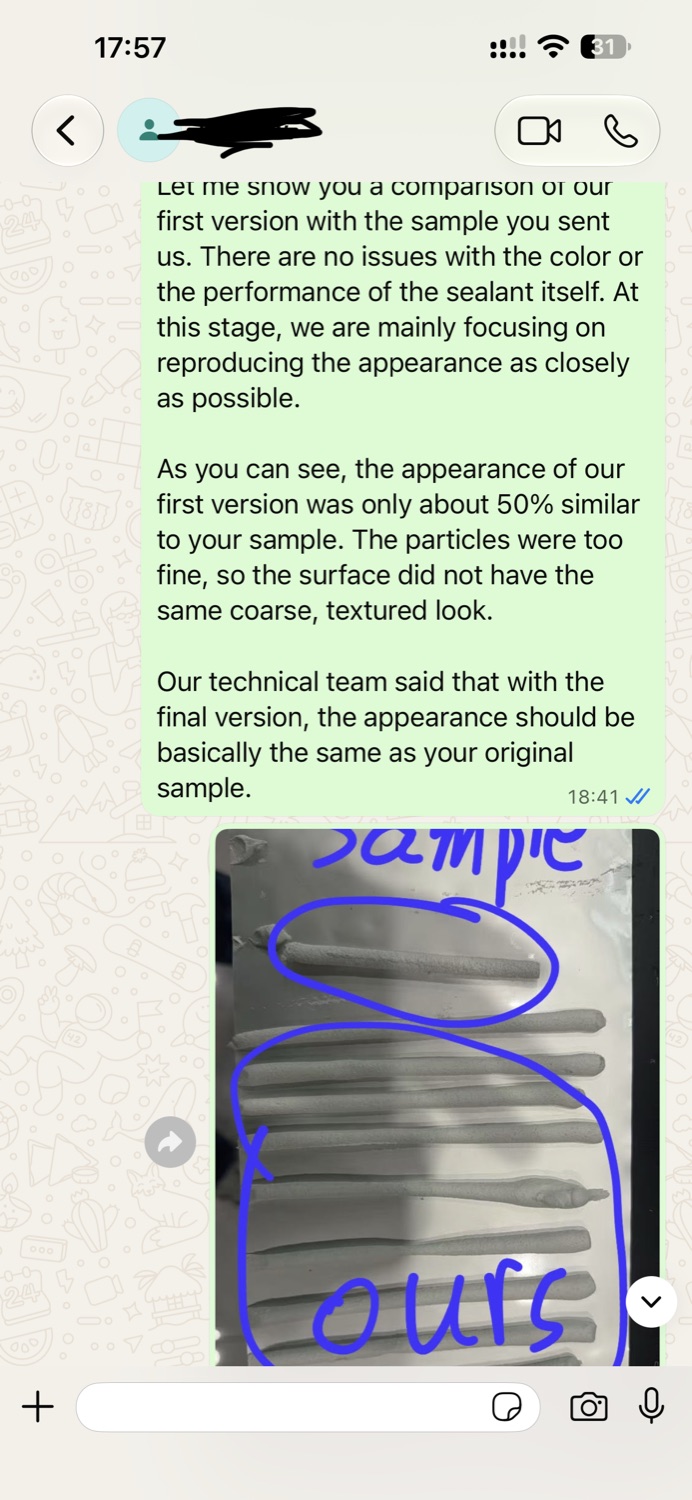
Rather than presenting the first trial as finished, we showed the difference directly to the customer. The technical team then reset the second-round target: retain the performance direction while refining particle distribution, rheology, extrusion shape, and the cured surface.
Step 4: The second iteration came close to the target
After further research and adjustment, the second version showed a clear improvement in particle feel, surface roughness, bead shape, and cured appearance. When placed beside the customer's sample, the texture and performance direction were close to the target. The main remaining task was a final color correction.
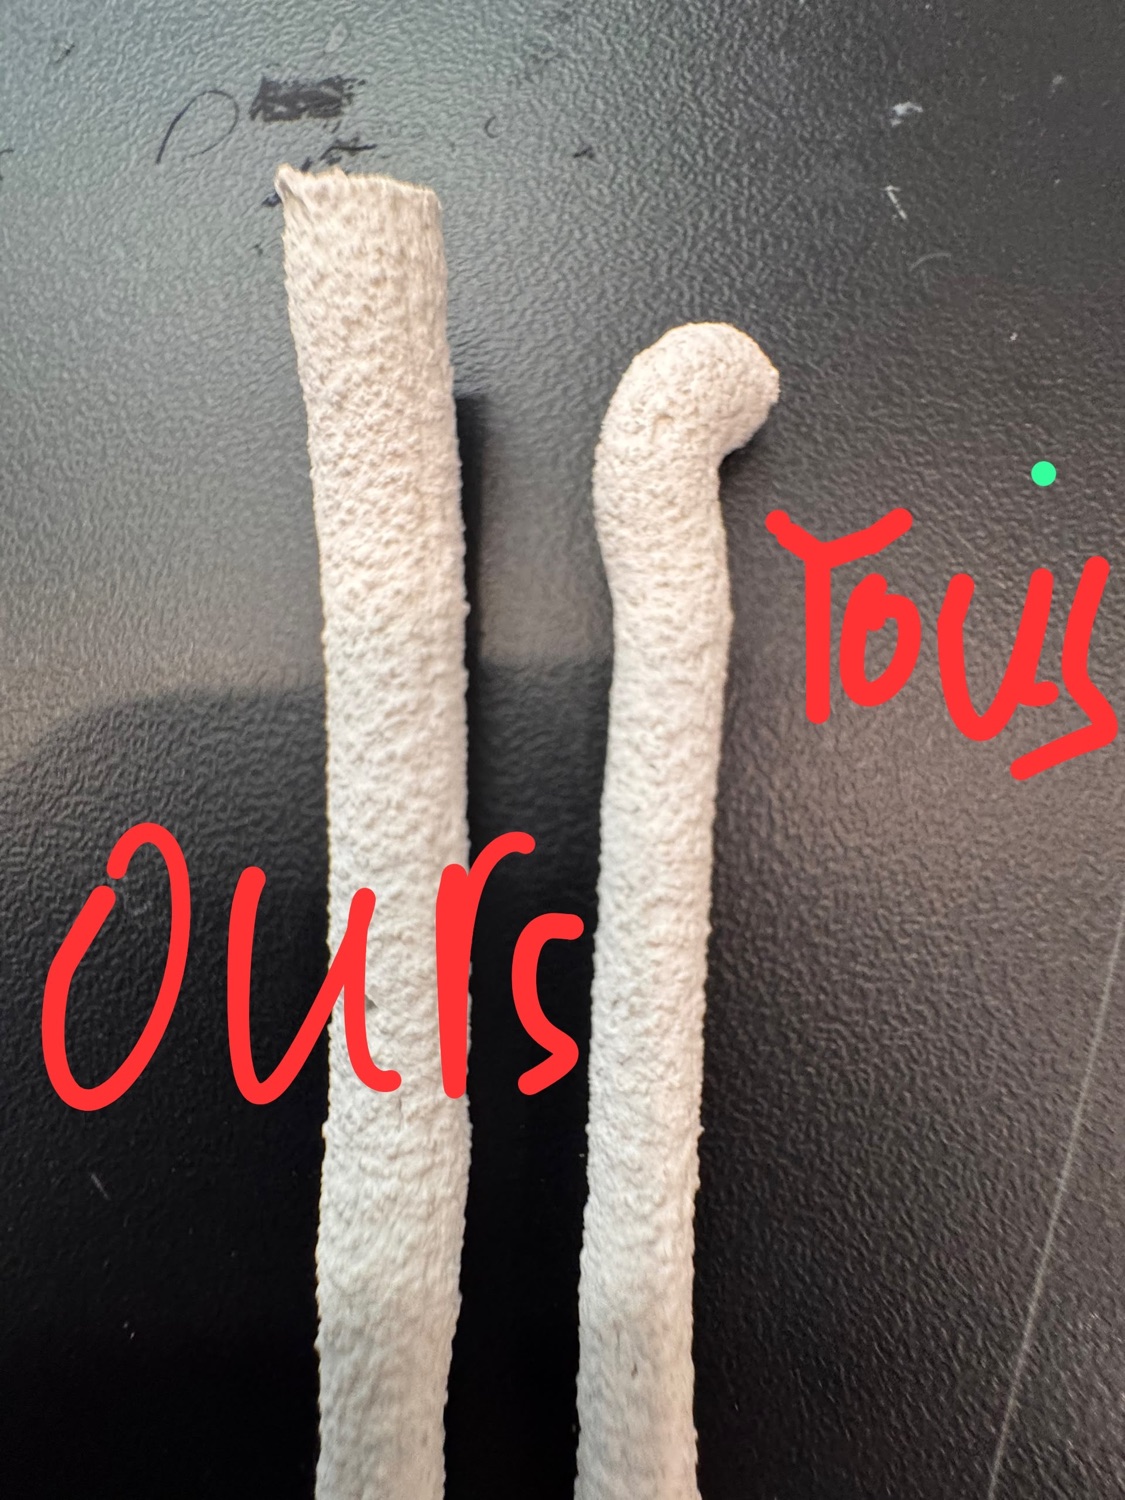
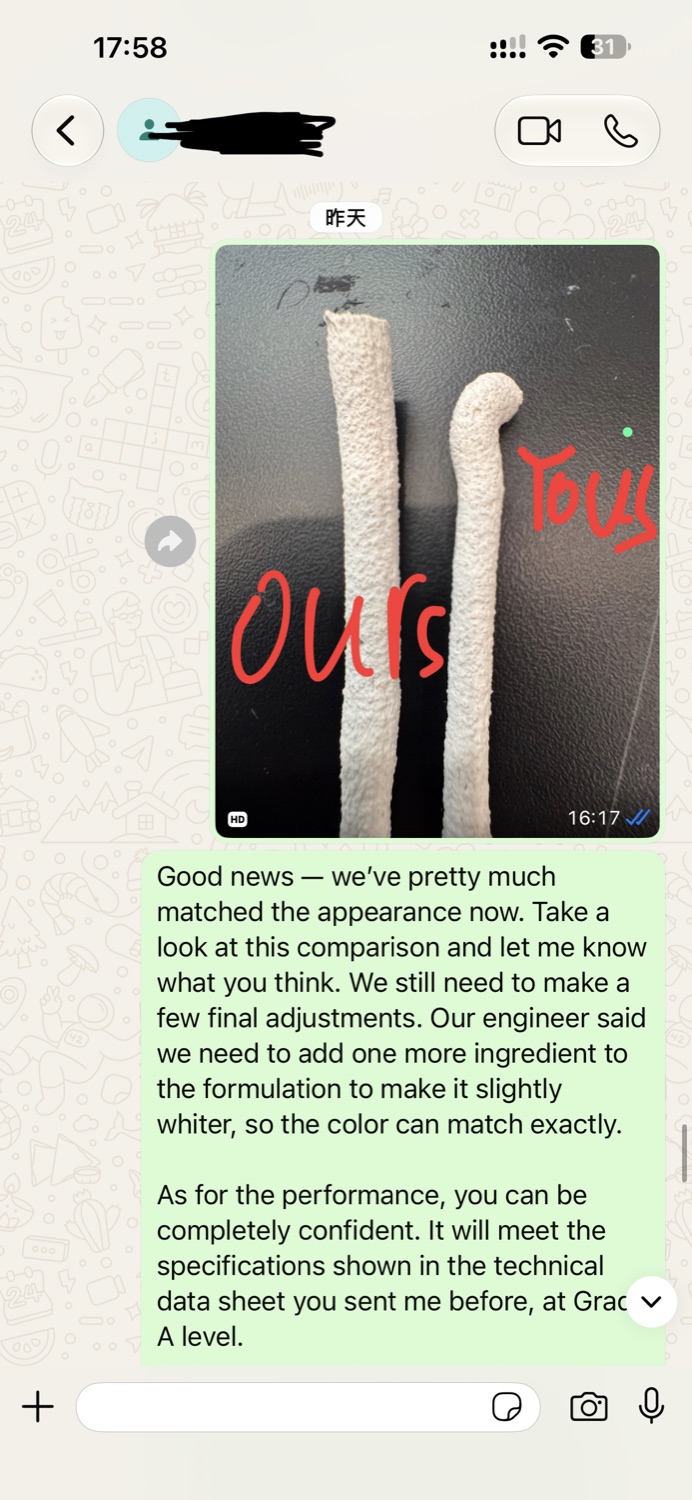
The customer responded positively to this stage of the development. The improvement was not simply a closer color. It reduced the visible, tactile, and application-level difference in the particle structure and surface finish.
Next: final color, customer confirmation, and independent testing
The project is now approaching the final-sample stage. The remaining process is:
- complete the final color adjustment and check sample consistency;
- send formal confirmation samples to the U.S. customer for application and appearance review;
- submit samples to a testing laboratory for the agreed performance items;
- confirm the final formulation against the report and customer feedback;
- finalize volume, colors, label design, packaging, and OEM production.
Appearance can be assessed quickly through side-by-side samples, while formal performance must be confirmed using the agreed test methods and an independent report. Treating these as separate checkpoints makes the development process both faster and more accountable.
What this case demonstrates
For importers, distributors, and private-label brands, choosing an OEM factory is not only about asking whether a product already appears in a catalog. The more important question is whether the factory can understand an unfamiliar reference, identify the meaningful differences, iterate, and carry the result through validation and production.
The path in this U.S. customer project is clear:
Target definition → physical sample → requirement analysis → first trial → gap review → second iteration → color adjustment → customer confirmation → independent testing → OEM production.
If you have a sealant, adhesive, or specialized water-based product that you want to source or customize in China, send us the reference sample, technical data, application, and target packaging. Jiaobao can start with sample benchmarking and formulation direction, then work with you toward a production-ready OEM product.
View the textured acrylic log-home chinking product or contact us about a custom project.